My Project Life Process: From Photos to Finished Pages
November 2, 2025
Documenting life, one photo and one story at a time.
The Creative Foundation
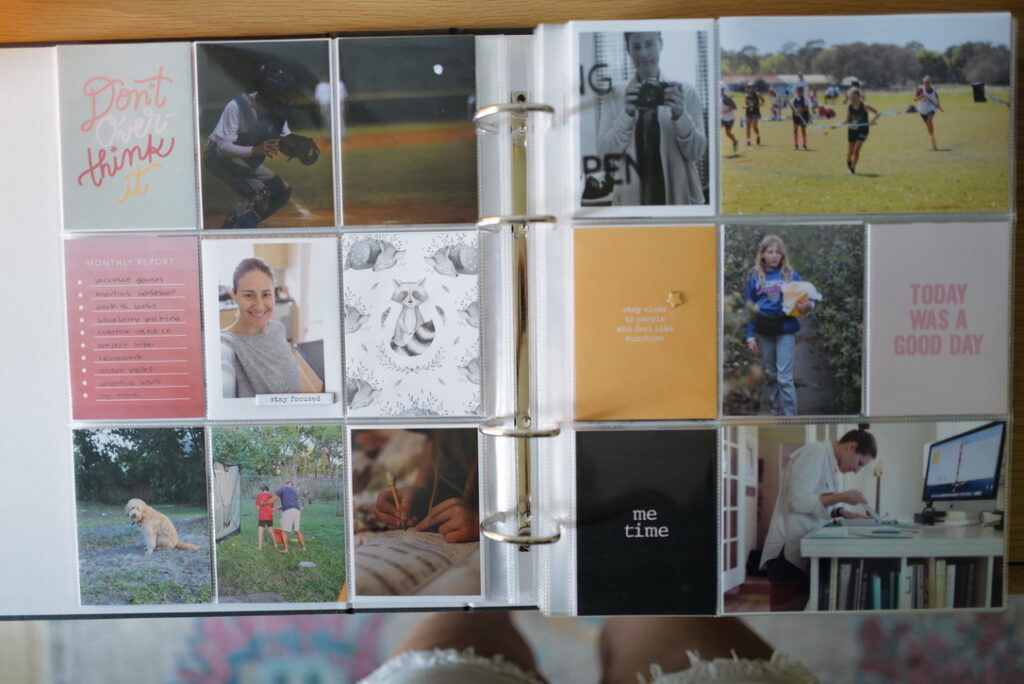
Each month, I sit down with my coffee, open my photo folders, and get lost in the process of documenting my life through Project Life. It’s one of my favorite creative rituals — a blend of storytelling, photography, and design — and over the years, I’ve developed a workflow that keeps the process both intentional and enjoyable.
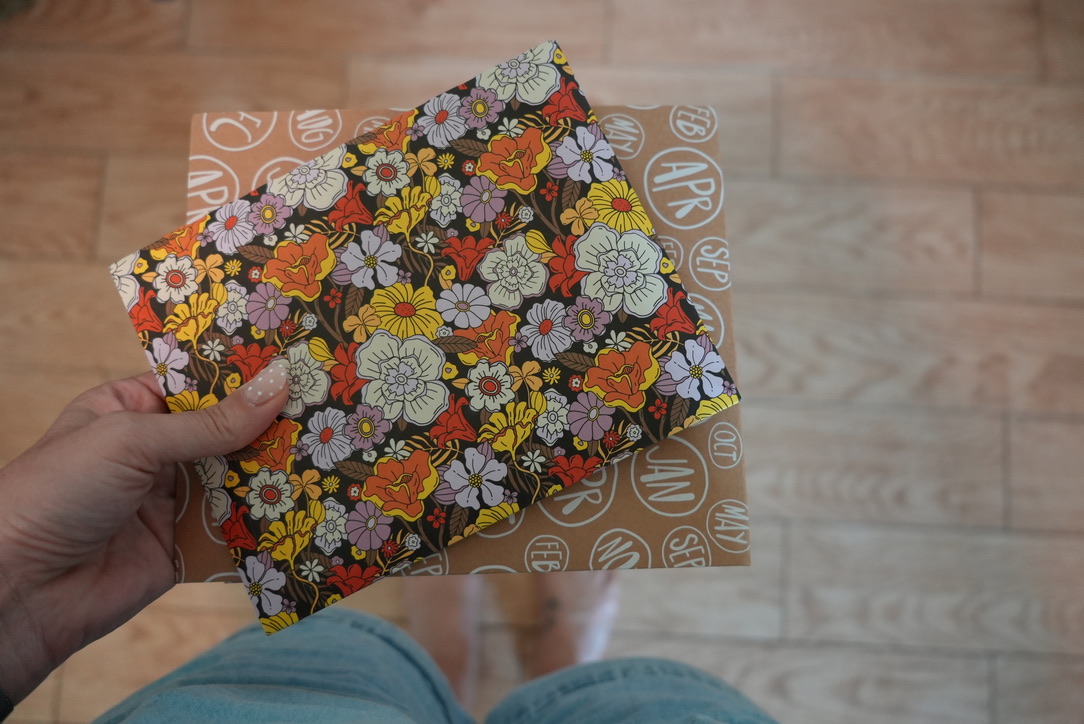
My creative foundation comes from the Ali Edwards Story by the Month kits. Each kit offers a cohesive color palette and thoughtful design that always seems to perfectly complement my photos. I currently work in a 9×12 album with inserts, which gives me the flexibility to combine larger photos, journaling cards, and stamped elements.
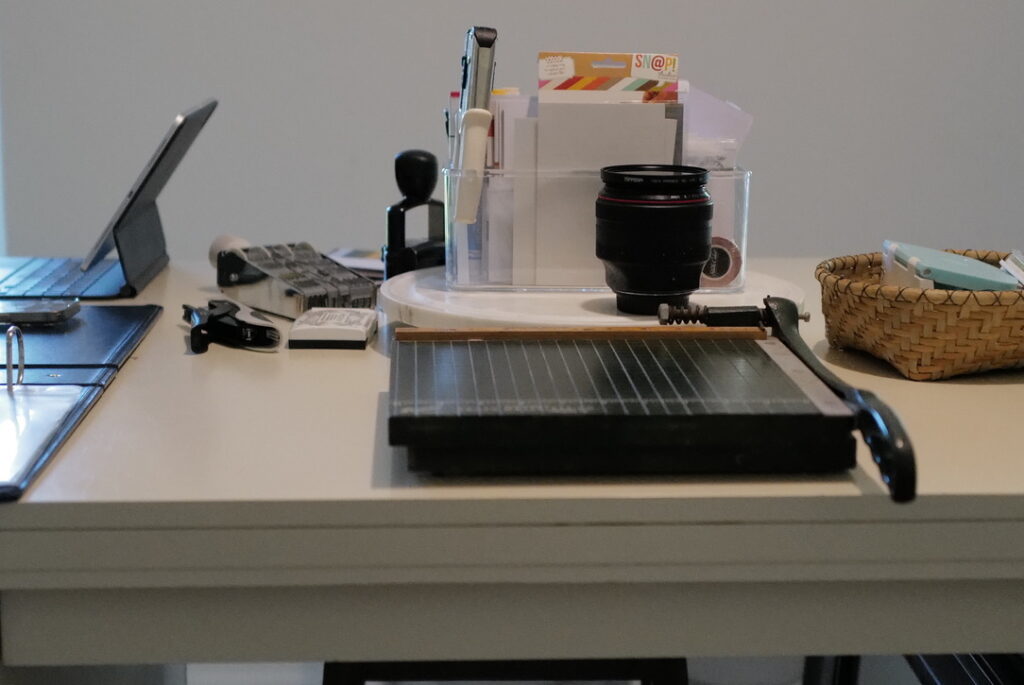
My Core Tools & Supplies
Here’s a look at the tools that make my process flow:
- Kits: Ali Edwards Story by the Month
- Typewriter: Thrifted
- Printer (large format): Canon Pixma Pro-100 (no longer available but linking the newest version)
- Printer (compact): Canon Selphy Printer
- External Storage: Samsung T7 Portable SSD
- Date Stamp: Mega Date Stamp from Studio Calico
- Pens: Micron pen for journaling
- Stamp Ink: Archival ink pads for crisp, long-lasting impressions
- Paper Cutter: Picked up at Gibson Depot in North Carolina
My Process Step-by-Step
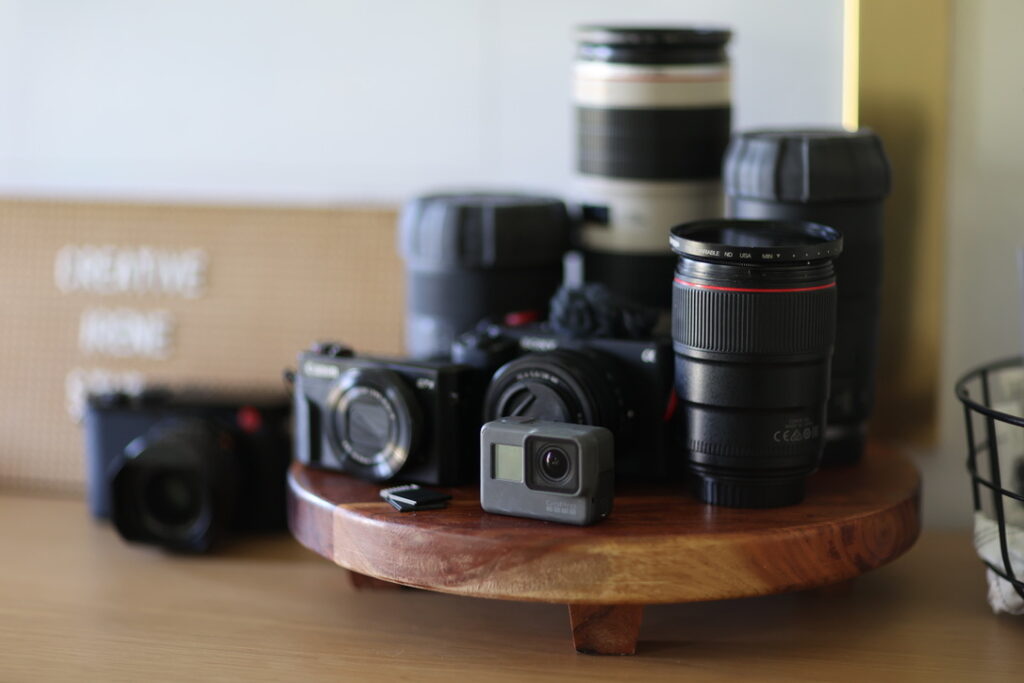
1. Keep Your Cameras Out
If there’s one thing that makes this whole process work, it’s keeping your cameras out. When they’re tucked away, I forget to take photos — but when they’re within reach, I find myself capturing the little moments that truly tell the story of my life.
I primarily shoot with my:
- Leica Q2
- Canon R6 with multiple pro lenses
- Sony ZV-E1 with 28-60
This variety gives me a beautiful mix of perspectives and depth across each month’s photo set. I use my iPhone mostly for quick portraits, screenshots, and everyday snapshots.
2. Weekly Photo Backup
At the end of each week, I:
- Download all photos to my computer.
- First, I open iPhoto and save here.
- Then , using Photo Mechanic I save everything again to my Samsung T7.
At the end of each month, I:
- Open iPhoto and create a smart album for the current month (using date created filter).
- Next, I favorite (heart) all of the photos I want to print and copy into another folder for printing.
- Once in the printing folder, I revisit all of the photos and unfavorite the pictures that I will not include and try to get the photo count to 40-50.
This ensures every photo I love is organized and ready when it’s time to print.
3. Printing the Photos
This is where the creative side starts to take over.
- Landscape photos: Printed on my Canon Pixma Pro-100 at 4×3 inches.
- Portrait/iPhone photos: Open Pic Collage on my phone → create a 4×3 grid with two photos and large borders → save each → print on my Canon Selphy (postcard size). Note: photos are saved back to iCloud and then when in the Selphy
- Trim & finish: Once printed, I use my Gibson Depot paper cutter to slice the postcard size photos down the middle and tear off the edges for that organic, hand-finished look.

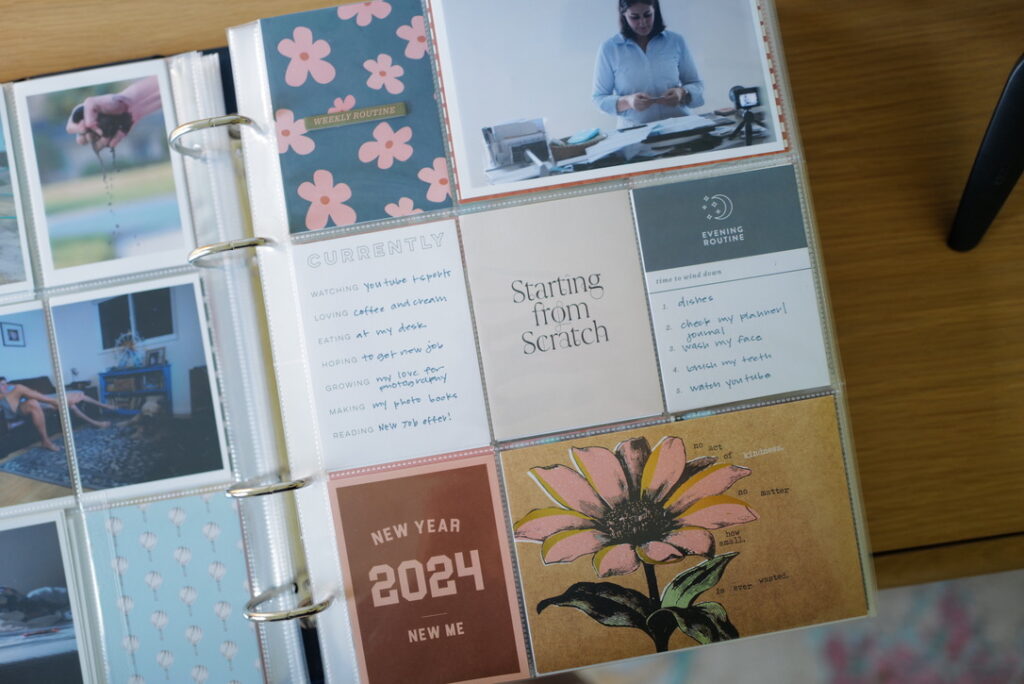
4. Building the Layout
Now comes the best part: pulling out my monthly Ali Edwards kit.
I start by laying out all of my photos and cards on the table. I look for:
- Color balance between cards and photos
- Design elements that repeat (shapes, fonts, textures)
- Emotional tone that ties the story together
Once it feels right, I slip everything into the page protectors. It’s an organic process — and somehow, the cards always seem to fit perfectly with the photos. Sometimes, well more often than not really, I will use extra photo inserts that are 4×6 and 3×4. They are just right if I want to add another picture or more private journaling to the page.
I typically use around 40 photos per month.
Evolving for Next Year
Next year, I’m making a small but exciting shift — moving from my 9×12 album to a 6×8 format.
It’s a more compact, cost-effective size that still gives me room for storytelling, but with less pressure to fill large pages. The heart of Project Life remains the same: photos, words, and stories that reflect the real, everyday beauty of life.

Final Thoughts
This process has taught me that storytelling doesn’t have to be perfect — it just has to be real.
The combination of beautiful photography, tactile materials, and thoughtful design makes this hobby deeply grounding. And even though the supplies and time add up, the outcome is something I’ll cherish forever — a visual journal of life’s little moments.
Stay tuned — I’ll be sharing a detailed post about all of my photography gear later this year, including how I use each camera to capture different moods and details throughout my albums.
